

Assembling a metal loft bed can be straightforward with clear guidance. This guide provides step-by-step instructions to ensure a safe and successful assembly process for your metal loft bed.
Overview of Metal Loft Beds

Metal loft beds are popular space-saving solutions‚ combining functionality and durability. They typically feature elevated sleeping platforms with open space underneath‚ ideal for desks‚ storage‚ or seating.
Made from sturdy materials like steel‚ these beds are known for their strength and long-lasting performance. They often come with weight limits‚ ensuring safety for users.
Modern designs include features like built-in desks‚ shelves‚ or ladders‚ catering to various needs. Assembly instructions are crucial for proper setup‚ ensuring stability and safety.

Following step-by-step guides helps users avoid common mistakes and ensures the bed meets weight and safety standards.
Importance of Following Assembly Instructions
Following assembly instructions for metal loft beds is crucial for ensuring safety‚ stability‚ and durability. Proper assembly prevents structural issues and potential hazards like collapses or injuries.
Deviation from guidelines can lead to improper support‚ uneven surfaces‚ or loose connections‚ compromising the bed’s integrity. Adhering to instructions ensures all parts are securely fitted‚ meeting weight limits and safety standards.
Clear steps guide users through each phase‚ minimizing errors and ensuring a sturdy final product. Ignoring instructions can result in a bed that fails to perform as intended‚ risking user safety and product longevity.
By following the provided manual‚ users can achieve a safe and functional loft bed‚ maximizing its benefits while avoiding unnecessary risks.
Safety Warnings and Precautions
Always adhere to assembly instructions to prevent hazards. Use appropriate tools and ensure all parts are securely tightened. Follow weight limits to avoid structural failure and ensure safety.

General Safety Guidelines
Ensure a safe assembly process by following essential safety guidelines. Always wear protective gear like gloves and safety glasses. Clear the workspace of clutter and tripping hazards. Use a ladder or step stool safely if needed. Avoid overloading the bed beyond its weight limit. Keep children away during assembly. Follow all manufacturer instructions and warnings. Double-check all connections and bolts for stability. Use a rubber mallet instead of metal tools to avoid damaging parts. Prevent accidents by ensuring all parts are securely locked before use. Adhere to these guidelines to ensure a safe and successful assembly of your metal loft bed.
Weight Limits and Restrictions

Adhering to weight limits is crucial for safety and durability. Most metal loft beds have a maximum weight capacity‚ typically ranging from 200 to 250 pounds‚ depending on the model. Exceeding this limit can lead to structural instability or collapse. Ensure the mattress and any additional components‚ such as shelves or storage‚ are within the specified weight range. Check the product manual for exact limits. Additionally‚ avoid placing heavy objects like large furniture or multiple people on the bed. Proper distribution of weight is essential to maintain stability. Always follow the manufacturer’s guidelines to prevent accidents and ensure the bed remains secure and functional over time.
Tools and Materials Required
Essential tools include an Allen wrench‚ screwdriver‚ and rubber mallet. Required materials are bolts‚ screws‚ washers‚ and crossbars. Ensure all parts are included for proper assembly.
Essential Tools for Assembly
To successfully assemble your metal loft bed‚ gather the necessary tools beforehand. An Allen wrench (3mm and 5mm) is crucial for tightening bolts and screws. A screwdriver‚ both flathead and Phillips‚ will be needed for various fasteners. A rubber mallet is recommended to tap parts into place without causing damage. Additionally‚ a small wrench or socket set may be required for securing crossbars and support brackets. Ensure all tools are readily accessible to streamline the assembly process. Double-check the hardware list to confirm no tools are missing. Proper tools ensure a safe and efficient assembly experience‚ preventing potential damage to the bed frame or injury. Organize your workspace to keep tools within reach‚ and refer to the instructions for specific tool requirements at each step.
Hardware and Parts List
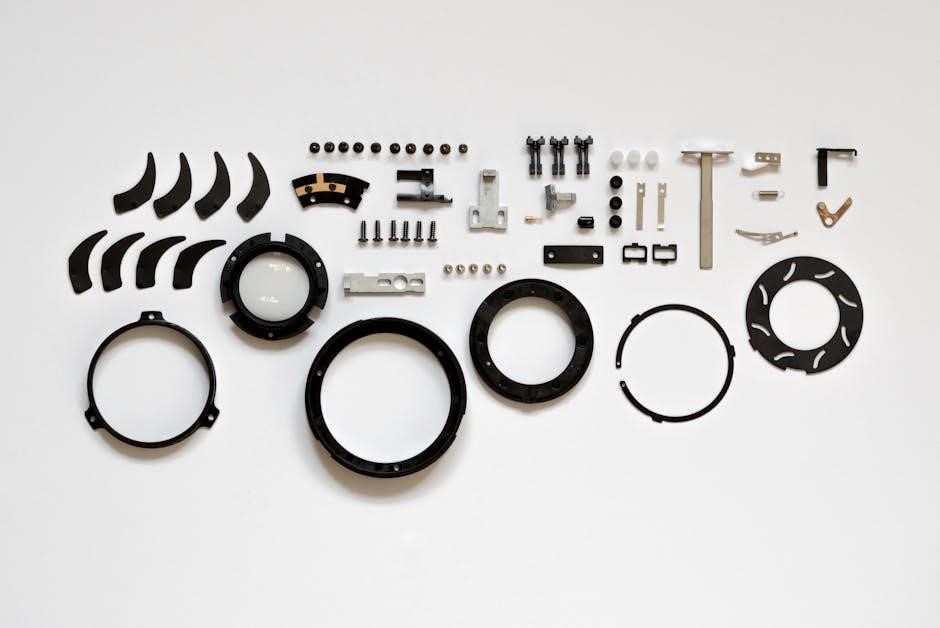
Before starting assembly‚ verify all hardware and parts are included in the package. Typically‚ metal loft beds come with metal brackets‚ support legs‚ crossbars‚ bolts‚ screws‚ and washers. Ensure you have small metal brackets‚ long metal brackets‚ threaded rods‚ and screws of various lengths. Check for plastic tab locks and small bolts for securing mattress supports. Review the provided hardware list to confirm no items are missing or damaged. If any parts are missing‚ contact the manufacturer promptly for replacements. Proper hardware ensures structural integrity and safety. Organize parts by type to avoid confusion during assembly. Refer to the parts list in the instructions for clarity and cross-reference each item as you progress through the assembly steps.

Step-by-Step Assembly Process
Begin by attaching metal brackets and supports‚ then unfold the bed frame and align parts. Secure with bolts‚ following the sequence in the instructions for stability.
Attaching Metal Brackets and Supports
Begin by aligning the metal brackets with the pre-drilled holes on the bed frame. Use the provided screws to secure them tightly. Ensure the brackets are evenly spaced for stability. Next‚ attach the support arms to the bed ends‚ making sure they fit snugly into the designated slots. Use a rubber mallet to tap them into place if necessary. Tighten all bolts firmly to avoid wobbling. Refer to the hardware list to confirm the correct screws are used for each part. Once the brackets and supports are in place‚ proceed to attach the crossbars for additional reinforcement. Double-check the alignment and tightness before moving on to the next steps to ensure the structure is sturdy and safe. Follow the sequence outlined in the instructions to maintain balance and prevent instability. Properly securing these components is crucial for the bed’s overall stability and safety.
Assembling the Bed Frame and Legs
Start by unfolding the bed frame and extending the legs until they are fully upright. Ensure the legs are securely locked in place using the provided locking pins or clips. Attach the leg bases to the frame using the bolts and washers from the hardware list. Tighten these firmly to prevent any movement. Once the legs are in place‚ align the side rails with the frame and secure them using the longer bolts. Make sure all connections are tight and the frame is stable. Next‚ attach the crossbars between the legs for added support. Use the smaller bolts to secure these in place. Double-check the alignment of all parts and ensure the frame is level. Finally‚ tighten all bolts again to ensure maximum stability before proceeding to the next steps. This step is crucial for ensuring the bed’s structural integrity and safety. Always follow the sequence outlined in the instructions to avoid complications.
Securing the Mattress Support and Crossbars
Once the bed frame and legs are assembled‚ focus on installing the mattress support. Align the mattress support bars with the pre-drilled holes on the frame and secure them using the provided screws. Tighten these screws firmly to ensure the support is stable. Next‚ attach the crossbars across the mattress support to provide additional stability. Use the smaller bolts and washers for this step‚ ensuring they are tightened evenly. Snap the plastic tab locks into place to secure the crossbars firmly. Double-check that all connections are tight and the support is level. Finally‚ place the mattress on top of the support and ensure it fits snugly within the frame. Properly securing the mattress support and crossbars ensures the bed is safe and comfortable for use. Always refer to the hardware list to confirm all parts are correctly utilized in this step.
Final Tightening and Stability Checks
After completing the assembly‚ perform a thorough inspection to ensure all parts are securely fastened. Tighten any loose bolts or screws‚ especially around the joints and crossbars‚ using a wrench for added grip. Conduct a stability test by gently rocking the bed from side to side to verify its sturdiness. Check that the mattress support is evenly aligned and properly secured. Ensure the weight limit is not exceeded‚ as specified in the instructions. Finally‚ inspect all connections and hardware for any signs of wear or damage. Once satisfied with the stability and integrity of the bed‚ it is ready for use. This final step is crucial for ensuring safety and longevity of the metal loft bed.

Common Challenges and Solutions

Common challenges include missing parts‚ misaligned pieces‚ and bolts not fitting. Solutions involve double-checking instructions‚ using a rubber mallet for alignment‚ and contacting customer support for replacements.
Addressing Missing or Damaged Parts
If parts are missing or damaged during assembly‚ contact the manufacturer immediately. Most companies offer free replacement parts upon request. Before starting‚ always verify the hardware list against the provided parts. If a piece is damaged‚ avoid using force‚ as it may compromise the bed’s stability. Instead‚ document the issue and reach out to customer support for assistance. Keep the original packaging and instructions handy for reference. Replacement parts are typically shipped quickly‚ ensuring minimal delay in your assembly process. Never proceed with damaged components‚ as this could lead to safety hazards or structural instability. Always follow the manufacturer’s guidance for resolving such issues promptly and effectively.
Troubleshooting Assembly Difficulties
During assembly‚ common challenges may arise‚ such as misaligned parts or difficult-to-secure connections. If a piece doesn’t fit‚ double-check its orientation and alignment with the instructions. Ensure all clips and brackets are properly seated‚ as slight misalignments can prevent secure locking. If a part feels stuck‚ avoid forcing it‚ as this could cause damage. Instead‚ gently maneuver or use a rubber mallet to tap it into place. Verify that all screws and bolts are tightened evenly‚ as uneven pressure can lead to instability. If instructions are unclear‚ refer to the provided diagrams or contact customer support for clarification. Always follow the recommended sequence to avoid complications. Addressing issues promptly ensures a sturdy and safe final assembly.
After completing the assembly‚ perform a thorough inspection to ensure all parts are securely fastened and properly aligned. Double-check that all bolts‚ screws‚ and crossbars are tightened evenly to guarantee stability. Verify that the weight limit is not exceeded and that the bed is placed on a level‚ sturdy surface. Conduct a final safety check by gently rocking the bed to ensure there is no wobbling or instability. If everything feels secure‚ the bed is ready for use. Always refer back to the instructions if you need to make adjustments or address any future concerns. Proper assembly and regular inspections will help maintain the bed’s durability and safety for years to come.